TPM or Trusted Platform Module is an additional layer of security feature found on computers to securely store artifacts like passwords, certificates, and encryption keys.
By default, many Dell PCs including desktops and laptops come pre-installed with TPM firmware to protect your devices from any security breach. These include devices belonging to the Latitude, OptiPlex, XPX, Vostro, and some other series.
A lot of users still face the problem with TPM in the form of an error that is a result of a Bitlocker recovery message and can show “Alert TPM device is not detected”.
In this post, I will guide you to solve this error through 3 easy and step-by-step methods. As TPM is one of the most essential features on the latest computer and laptop devices using Windows 10 or 11, you should fix the issue as soon as you start to see this error.
Check If Your Device Supports TPM
Before proceeding to dive into the root cause of the issue, you should check if your laptop or computer supports TPM or not. This is a fairly easy method but will save you a lot of time.
-> Press “Windows+R” buttons to open the Run command box.
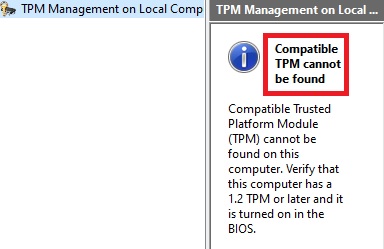
-> Type “TPM.msc”. If you see the “Compatible TPM cannot be found” message, your PC doesn’t support TPM.

Solving the TPM Device Not Detected Issue
Before trying any other method, you should first make sure that your system is rebooted properly. Many times, the issue gets resolved itself if your system is rebooted properly.
Reboot Properly
Generally, if your device BIOS cannot show TPM, it may need a proper reboot. A proper reboot should discharge your computer or laptop and here is how you do it:
-> Remove the laptop battery if you are using a laptop and also remove the CMOS battery.
-> Hold the powerbutton to discharge any static power from the laptop.
-> Now connect the batteries back and enter the BIOS by pressing F2.
You should now see the TPM settings in the Security tab.
You can also do this by powering off the system and removing the AC power cord for at least 30 seconds for a proper discharge.
Now go to Security in BIOS and make sure any one of the following is on:
- TPM Security-> TPM On
- PTT Security-> PTT On
- Intel Platform Trust Technology On-> On
Update BIOS
Another method that works for most users is updating the BIOS. Before you update it, make sure you suspend the hard drive encryption if your hard drive is encrypted.
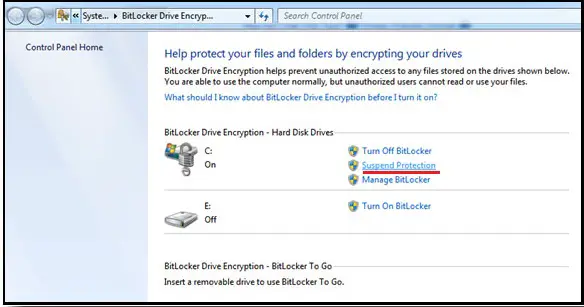
-> Go to “Control Panel” and under “System and Security”, find “Bitlocker drive encryption”.
-> Click on “Suspend Protection” on the boot drive.

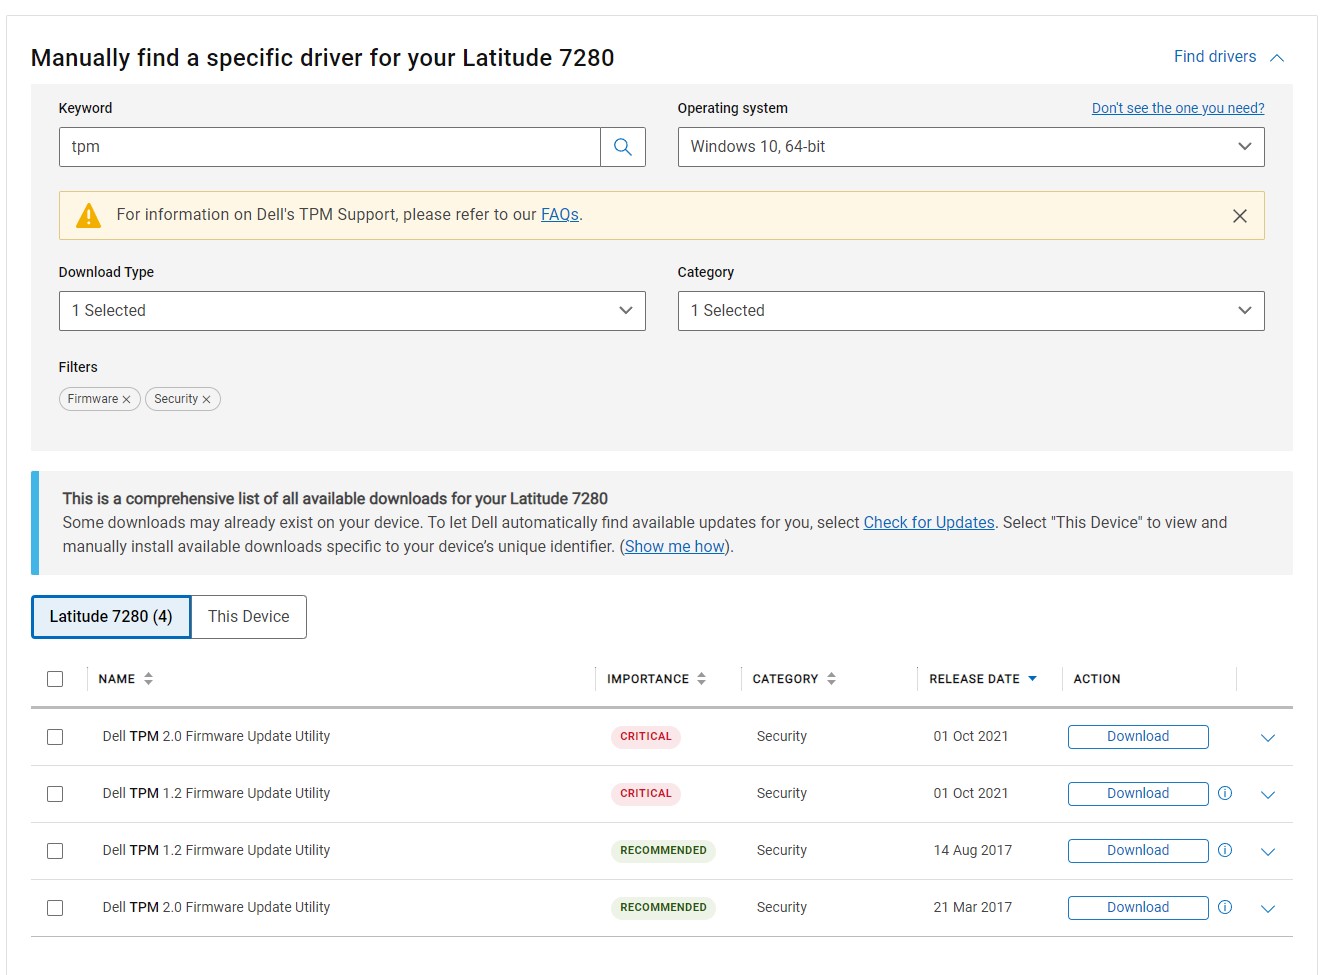
-> Go to Dell’s official “Drivers & Downloads” page to download the latest BIOS driver for your device. Reboot and you should see the TPM option in the BIOS.
Hard Reset
If you cannot see TPM in your BIOS, your device may require a hard reset. As TPM cannot be updated by a simple download and installation of the package if it is owned by Windows, you need to clear the TPM ownership for a successful TPM firmware update.
-> Type “Powershell” in the Windows search bar and in the command box, type “disable.tpmautoprovisioning”.
-> Press “Windows+R” and type “tpm.msc” and click on “clear TPM”.
-> Reboot and press F2 to access the BIOS. You should now clear the TPM from the “Security” tab.
Go to the official Dell driver page to download the latest TPM firmware.

You will need to select your device and operating system to find the latest TPM firmware.
Once you install the firmware, your computer or laptop will restart and update the TPM firmware at the BIOS level.
-> When you enter your Windows OS, open Powershell, and type “Enable-Tpmautoprovisioning” command.
Now you can check if your TPM firmware is the latest version by typing “get-tpm” in the Powershell window.
-> Again restart the computer or laptop to let Windows have the TPM ownership.
-> Turn on the hard drive encryption from Control Panel.
Final Words
TPM should function properly if you don’t want your system’s security to be compromised. Make sure you follow all the steps above one by one to sort out the problem and let me know which one worked for you.
[poll id=”10″]


