While downloading games on Steam, there is the option of choosing from multiple library folders and specifying the location where you want to have your games installed.
In case you have large games, you may be running out of space, or you simply want to migrate from your old drive to a new SSD. Either way, you can recover deleted Steam games painlessly and without any prior technical know-how.
Moving the Steam library to another drive is an easy process, but it can differ slightly, depending on the operating system you are using.


Below are some general steps that you can use to successfully complete the process:
Using backup files to move the Steam library to a new drive
1. Create a new folder on the destination drive
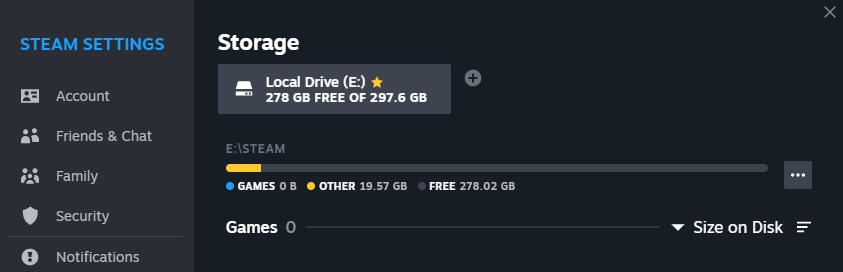
- Select the new drive to which you desire to move your Steam library. This is referred to as the destination drive.
- On the new drive you have chosen, create a folder and give it a suitable name such as “SteamLibrary.
2. Back up your games on Steam
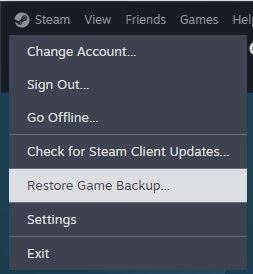
- On your computer, open the Steam client.
- Check the top-left corner and click on “Steam.”
- Look at the drop-down menu and select “Backup and Restore Games.”
- Select “Backup currently installed programs” and then click on “Next.”
- You will be given a list of games. Select those that you want to transfer to another drive. If you want to choose several games at a go, click while holding down the Ctrl key.
- Click on “Next” and choose the folder that you created in your destination drive in Step 1.
- To initiate the backup process, click “Next” again. This creates backup files in the destination drive for the games that you selected.
3. Remove games from the old Steam library by uninstalling them
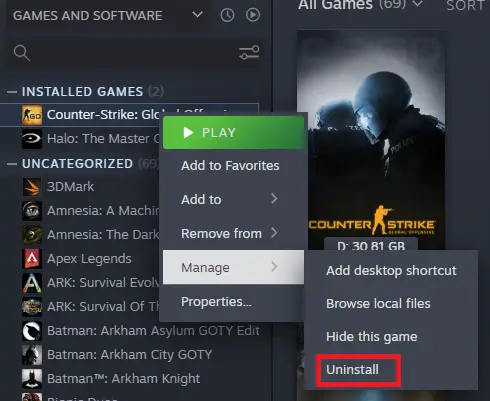
- Once you have finished the backup process, you should uninstall the games that were originally existing in the Steam library. This helps to avoid conflicts.
Go to “Library” in Steam and right-click on the game that you desire to move (that you have already backed up). Select “Uninstall.” - Confirm that you intend to uninstall it.
- Repeat this process for all the games that were already backed up.
4. Exit Steam
- Exit the Steam client before you proceed to recover deleted files.
5. Move the backup files to your destination drive
- During the backup process, there is a folder where the Steam backup files were created on the original drive. Navigate to this folder (usually, it is located in “C:\Program Files (x86)\Steam\Backups” on Windows).
- Copy these backup files that contain the .zip extension and move them to the “SteamLibrary” folder which you had created in your destination drive in step 1.
6. Restore the games
- Open Steam again.
- In the top-left corner, click on “Steam” and choose “Backup and Restore Games” again.
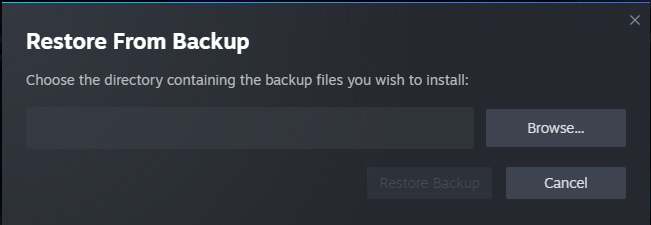
- Select “Restore a previous backup” and then click on “Next.”
- On the “SteamLibrary” folder, in your new drive, select the backup file belonging to the game that you want to restore.
- Click “Next” and follow the prompts in order to have your game restored.
- Repeat the same for all your games
In order to restore all the games that you backed up, repeat step 6 for each game that you want to move.
8. Verify game files
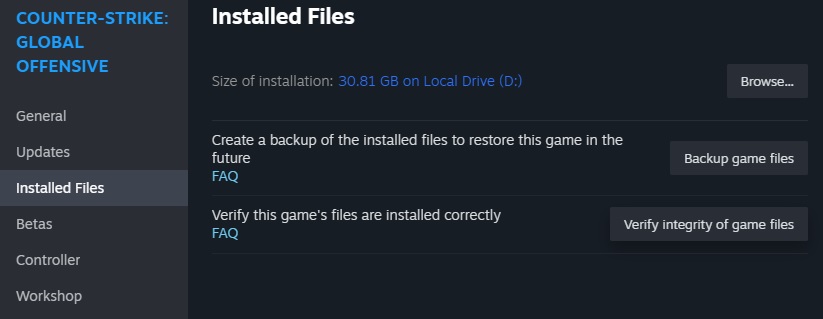
To be sure that the game files are working perfectly, you need to verify them after restoration.
- In your new Steam library, right-click on the game that you want to verify.
- Select “Properties.”
- Choose the tab indicated “Local Files.”
- Click on “Verify Integrity of Game Files.”
Once you have verified your game files, you are good to go. Your Steam games are now moved to another drive successfully and you are able to recover deleted games without straining. If you are moving large games, it will take time to complete the entire backup and restoration process. Just be patient and wait for the whole process to be completed.
Related: How to solve “New Steam Library Folder Must be Empty” error
Moving your Steam library to another drive on Mac
For Mac users, here is how you move the Steam library to another drive:
First, you need to shut down Steam before you do anything.
By default, game files that are on Steam are located in
~/Library/Application Support/Steam/SteamApps/
This is the folder we will be moving to the new destination drive.
Note that you can find the library folder by simply clicking on the “Go” menu as you hold the “Option” key. You also need to remember that you are only moving the SteamApps folder, not the entire Steam folder.
You now need to open the trusty terminal and then type the command below:
cd ~/Library/Application\ Support/Steam
After changing to the Steam library in the Application Support folder, you should now make a symbolic link to the new SteamApps folder. Run the command below using Terminal and replace /New/SteamLibraryLocation/ with the path to the new location of the SteamApps folder:
ln -s /path/to/new/SteamApps SteamApps
While creating the command, take note that the first part should point to the new location and the second part should point to the old location. When done, fire up your Steam client again and your games will be available in the new location.
Moving your Steam library to another drive on Windows
When using Windows, you need to first find the location of your Steam library. If you are in doubt, right-click on the Steam shortcut and select properties to find it.
Shut down steam before you start doing anything.
After shutting down Steam, drag the Steam folder to the new drive. It might take some time if you have several games in your Steam library. Once you are done, you now need to rerun Steam. There is the option of simply rerunning the Steam.exe from the new location. However, it’s recommended that you reinstall it to update all the shortcuts.
If you don’t have the installer, go to steampowered.com and download it. After starting the installer, point it to your new destination drive and every shortcut will be updated. The next time you will run Steam, you’ll have all your games from the deleted folder intact. You can now play without having to download everything afresh or restore from a backup.
Related: Fix Steam Library not available for Family Sharing
Final Words
Now that you know how to move your Steam library to another drive, you can always do so whenever you want to upgrade your old drive or transfer Steam games to another drive with more speed and space.
As you have noticed, moving the Steam library to a different drive is a seamless process. Even though the general principles remain the same, the process tends to differ slightly for different Operating Systems.