Getting a Boot Green LED on the Asus motherboard can be due to several reasons. Q-LEDs on Asus boards give you an insight into what could be possibly wrong with your computer.
Individual LEDs turn on whenever you have a problem on the hardware level and will continuously stay on till the issue is fixed. This problem doesn’t let you boot into your operating system and you may need to inspect each component on your computer manually.
Types Of Q-LED Indicators On Asus Motherboards
Asus Motherboards with Q-LED indicators contain 4 individual LEDs. These are mostly present on the right edge of an Asus motherboard and indicate problems caused by different components of a computer.
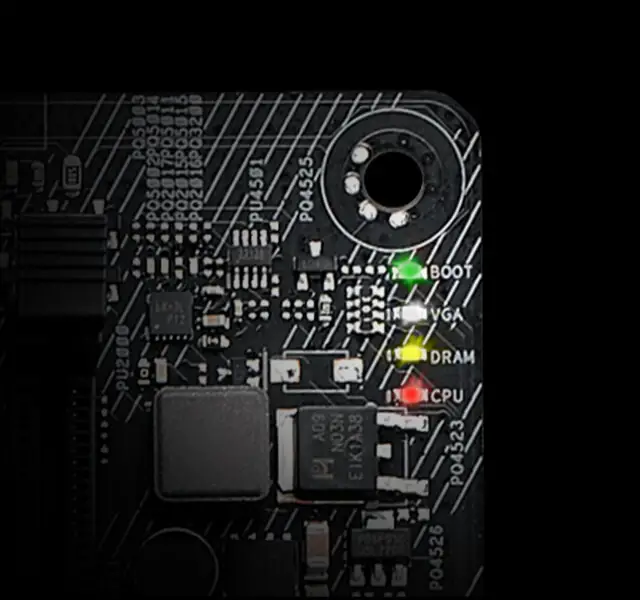
Image credit- Asus
The Q-LEDs on an Asus motherboard are as follows-
- BOOT– Green LED
- VGA– White LED
- DRAM– Orange/Yellow LED
- CPU– Red LED
Each LED is associated with different components of a computer where BOOT LED is related to storage drives, VGA to the graphics card, DRAM to RAM/Memory, and CPU to CPU/Processor.
Whenever your system fails to detect or establish a proper connection with any of the mentioned components, the associated LED with turn on. These LEDs turn on continuously if there is a hardware failure until the problem is sorted out and don’t let the computer boot into your OS or even BIOS.
Asus motherboards generally cycle through each of these LEDs one by one after switching on a computer. Each LED automatically turns off and your computer boots if there is no anomaly detected.
Reasons For Asus Motherboard Green LED Light
A continuous Green LED light indicates a problem with the boot drive. This means that either there is no boot device connected or the boot device is faulty.
Your computer may have a hard drive, a SATA SSD, or an M.2 SSD for boot. If you are seeing a continuous Green LED then it is indicating that the connection between your boot drive and motherboard is not established.
This can be due to a loose wire, a faulty storage drive, incorrectly installed RAM, and a dirty interface.
How To Fix Asus Motherboard Green LED Light?
If you want to fix this issue, you will need to carefully inspect different areas related to your storage drive in order to reach the root cause. A couple of steps can easily find out the possible cause of this problem.
We recommend following the below steps one by one to verify the main cause of the problem.
Reconnect SATA Cables
A simple reconnection of cables to your storage drive can fix the issue easily. If you have recently opened up your chassis to install RAM or a graphics card, or if you have added another storage drive, it could be possible that you may have caused a loose connection to your main boot drive.
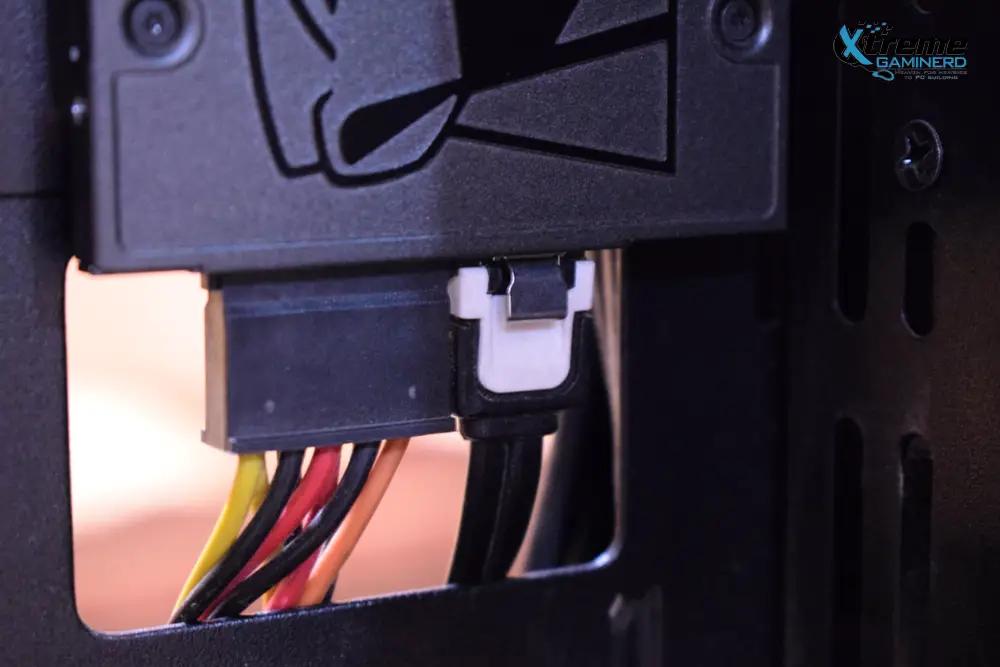
Click to enlarge
Simply reconnecting the SATA cable to your motherboard and SATA drive respectively for a proper connection may fix the issue.
Alternatively, you can try switching the SATA ports on your motherboard or try a different SATA cable to confirm if the issue is related to the cable connection or not.
Make sure you also check the SATA power cable connection to your storage drive. The SATA power cable provides power to your hard drive or SSD from the power supply. Without this connection, your computer won’t detect any boot drive.
Reinstall M.2 SSD
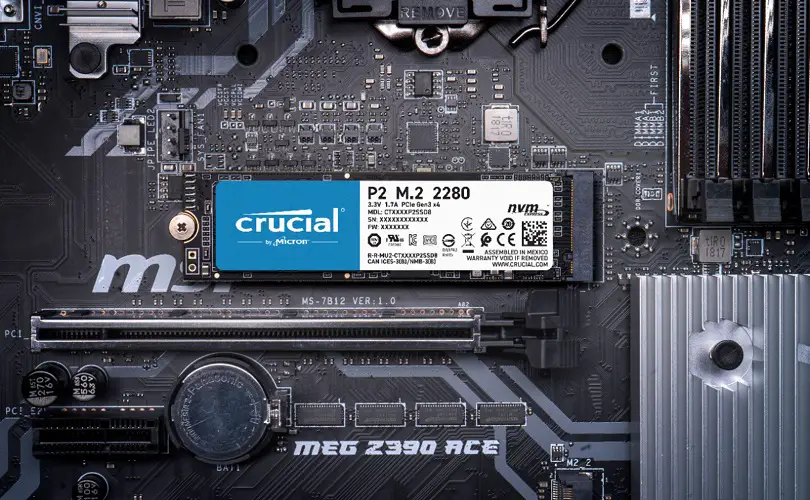
If you are using an M.2 SSD as a boot drive, then it is recommended to reinstall it. You should make sure that the M.2 SSD is properly inserted into the M.2 connector and is secured properly with an M.2 connector screw.
You can also install the SSD into another M.2 connector if you have more than one on your motherboard to see if that works.
Clean M.2 Connector And SSD Pins
Sometimes dirt may also come in between the M.2 connector and M.2 SSD pins. If you see any dirt, then clean them with an eraser or a soft brush.
Reset BIOS
If your computer was working just fine before, it could be possible that you have accidentally or mistakenly changed some values in the BIOS.
To restore the defaults, you can reset your BIOS to make your computer work like before. You can do this in two ways-
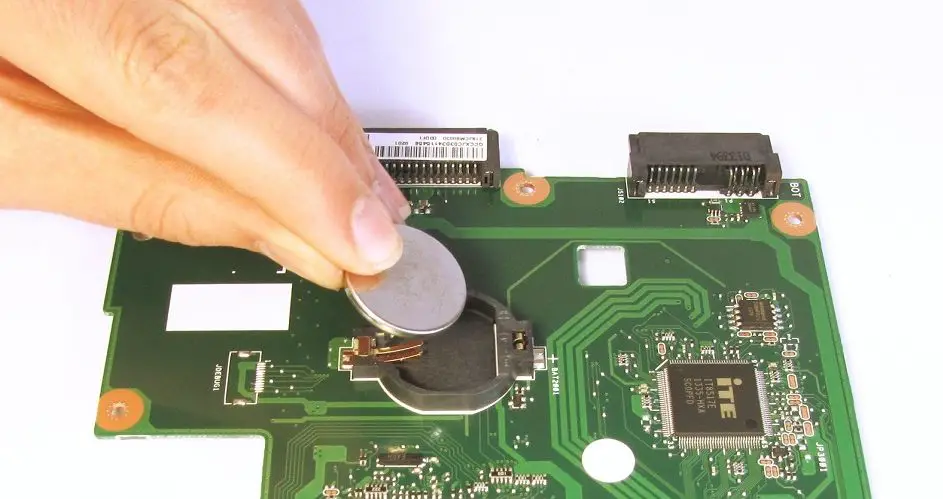
-> Turn off your computer and remove the side panel of your case.
-> Identify the CMOS battery (It is different from the BIOS chip) and remove it from its socket for at least a couple of minutes.
-> Let the battery discharge and put it back again.
The second method of resetting the BIOS is to short the BIOS jumper pins after switching on your computer. This way you can see if BIOS is really the culprit here.
Switch RAM DIMM Slots
The next thing to do is to switch the DIMM slots for your RAM.
Your motherboard may have 2 or more DIMM slots. If you have used one or more RAM sticks, take out all the other sticks except one and install it in a different DIMM slot.
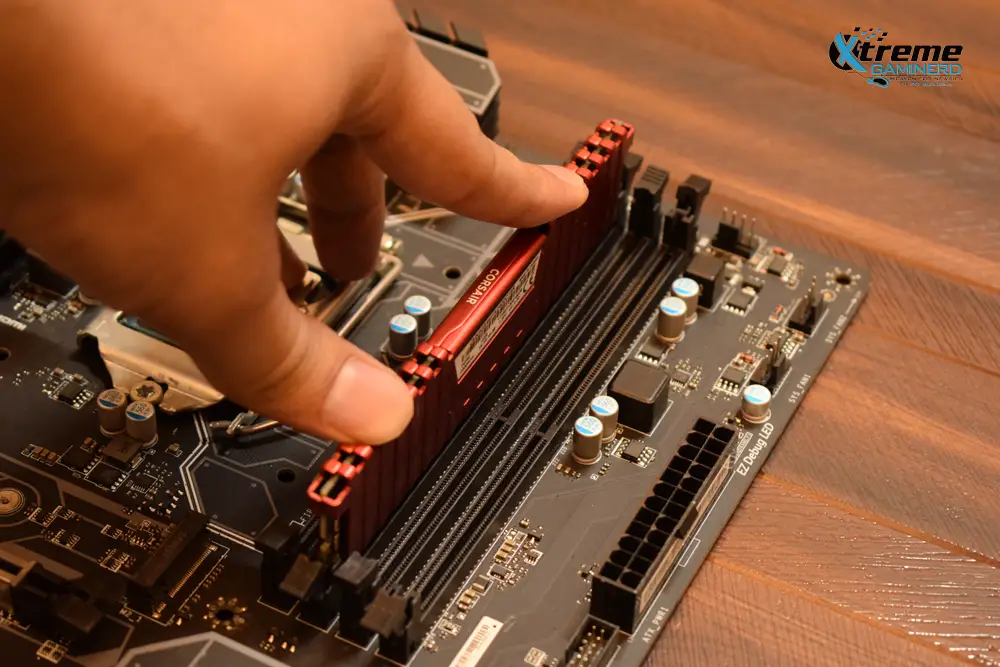
Click to enlarge
Keep changing the DIMM slot until you get no more continuous Green LED light. When installing the RAM stick, make sure you insert it all the way inside the DIMM slot and hear a click sound.
Many users have fixed the Green LED light issue by switching their DIMM slots even though Green LED isn’t associated with the RAM.
Final Words
If nothing of the above method worked, it’s time to change your boot drive. If you have a spare one, then you can put it inside your computer and see if it works.
Alternatively, you can also use the supposedly faulty storage drive on another computer. If that storage drive fails to work, then you will need to buy a new one.
[poll id=”6″]