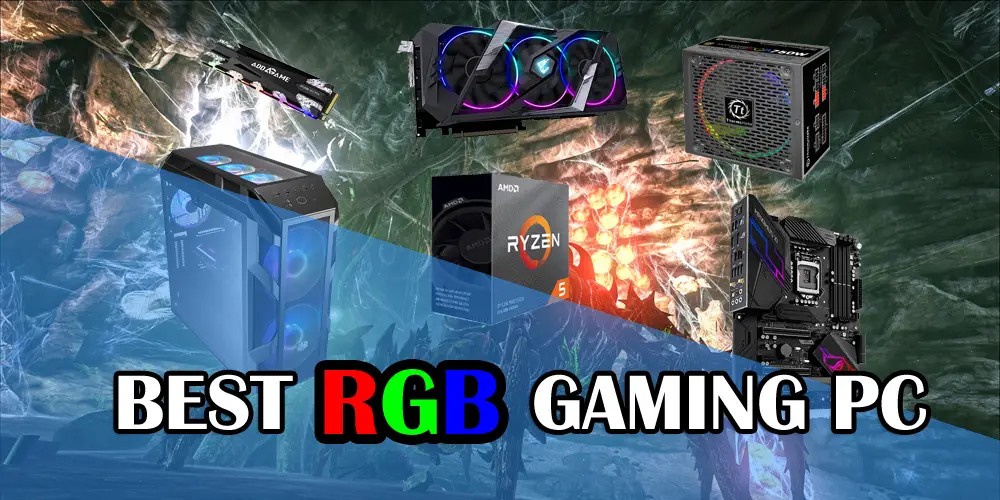
Introduction
2-3 years ago we didn’t have every PC component featuring RGB lights but now even the things which we couldn’t think about feature RGB lights. The main PC components like Graphics card, motherboard, RAM etc. are surely having these colourful LEDs for a few years but RGB lighting in Power supplies, Power cables and chassis are something new which doesn’t leave anything colourless.
Today in this post, I am going to show you how you can build almost a full RGB Gaming PC that ranges from $1300-$2000. You can surely go upwards if you want to but with the two different builds I am recommending will provide you with the best aesthetics and performance per dollar. $1000-$2000 today can be used to build a very powerful 1440p gaming PC that can max out games with 60+ fps but the value of that PC increases, even more, when its aesthetics goes to the next level i.e., with RGB lighting.
For building a complete RGB build, you should not only focus on getting the RGB components but also RGB peripherals so that half of your desk doesn’t get void out of lights and colours. I have listed out the peripherals too, so you can get the best setup among your friends. And in case you want to discuss something, then feel free to do in the comments section!
Option 1: $1300 RGB GAMING PC BUILD
| Components | Images | Latest Prices |
|---|---|---|
| AMD Ryzen 5 3600 |  | |
| Cooler Master MasterAir MA410M | 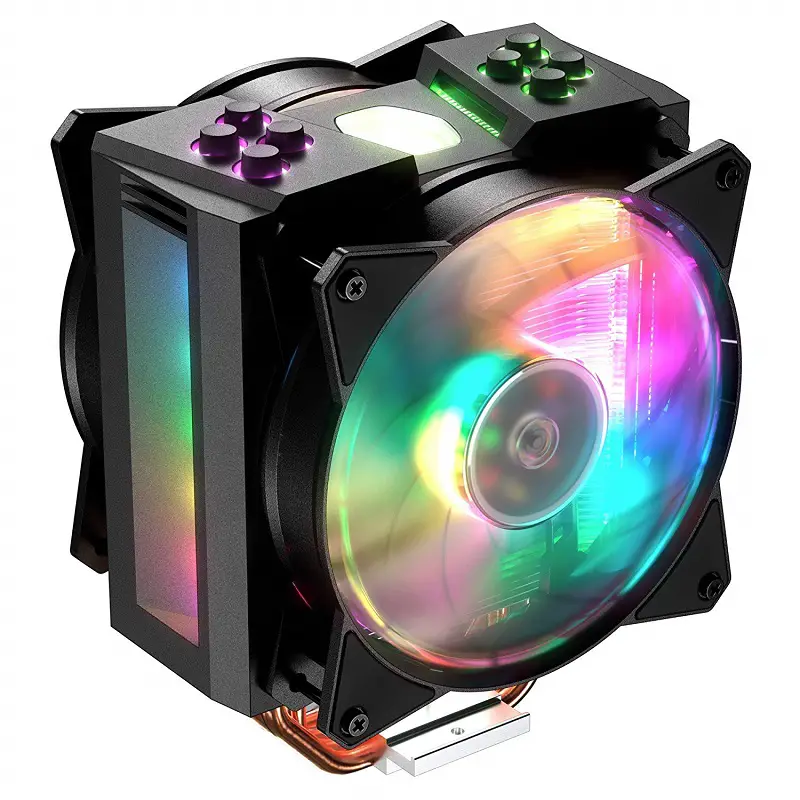 | |
| ASUS Prime X470-Pro | 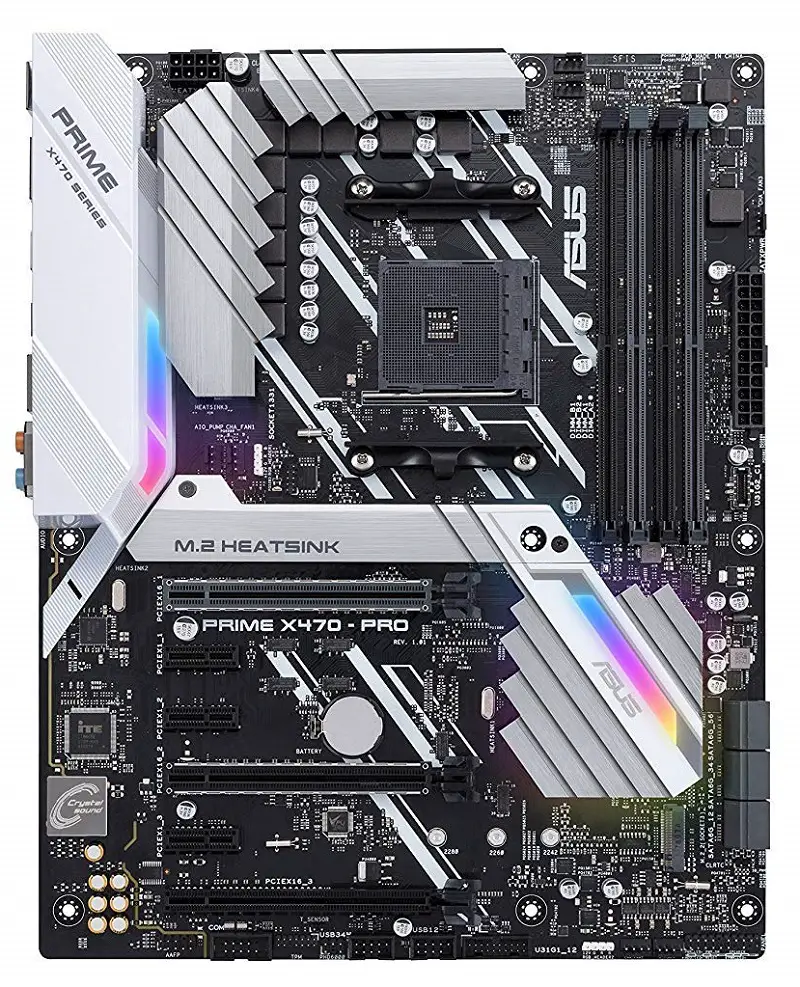 | |
| G.SKILL Trident Z 16GB Neo 3600MHz | 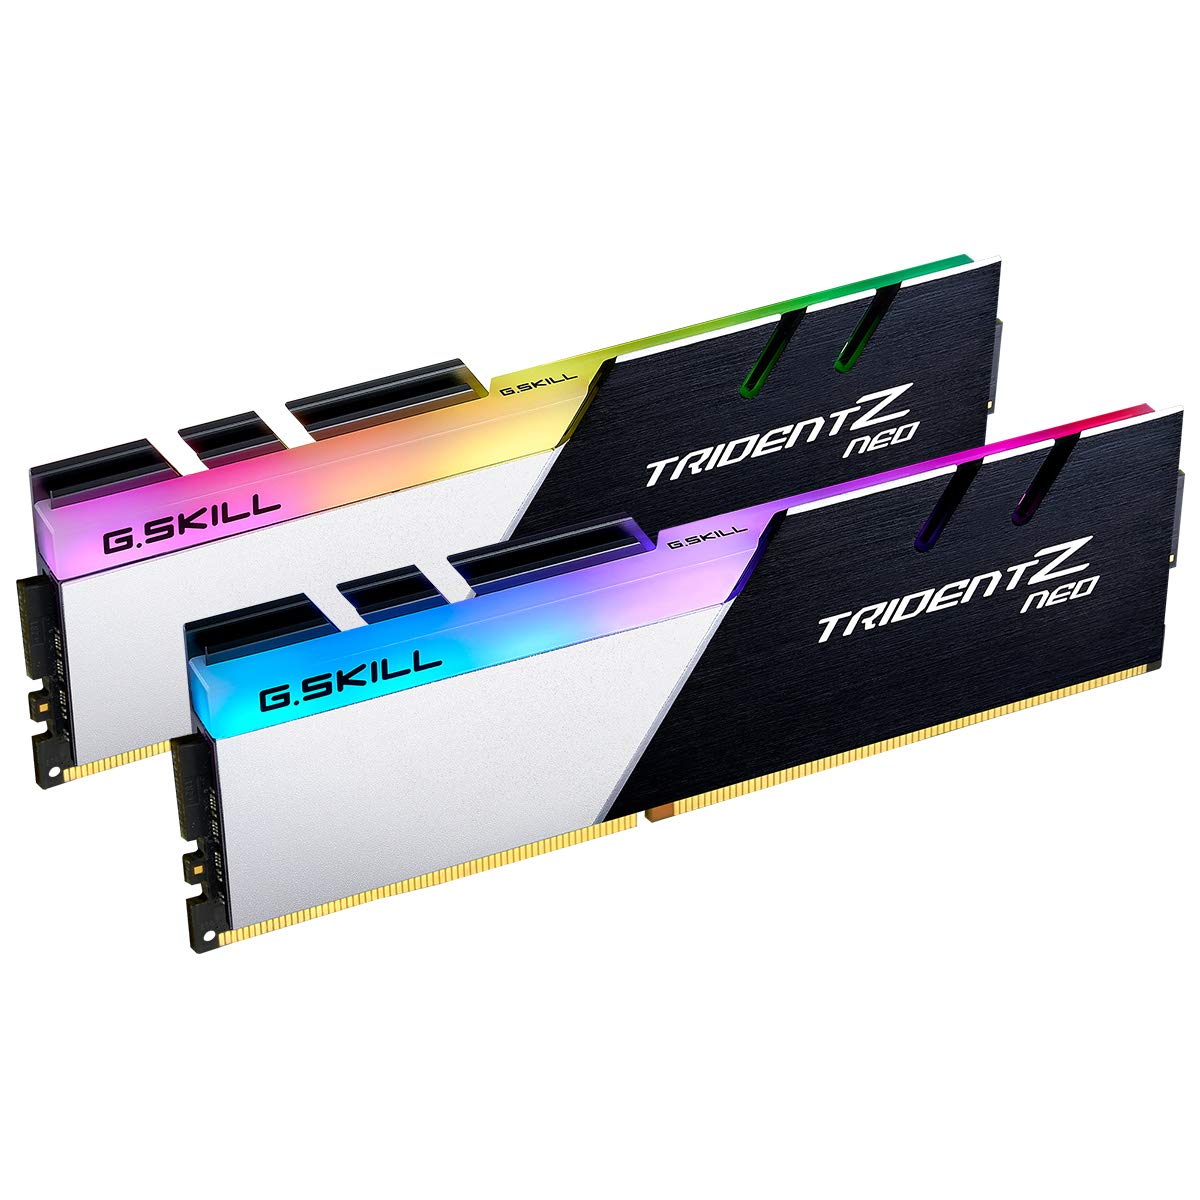 | |
| GIGABYTE AORUS RTX 2060 Super 8G | 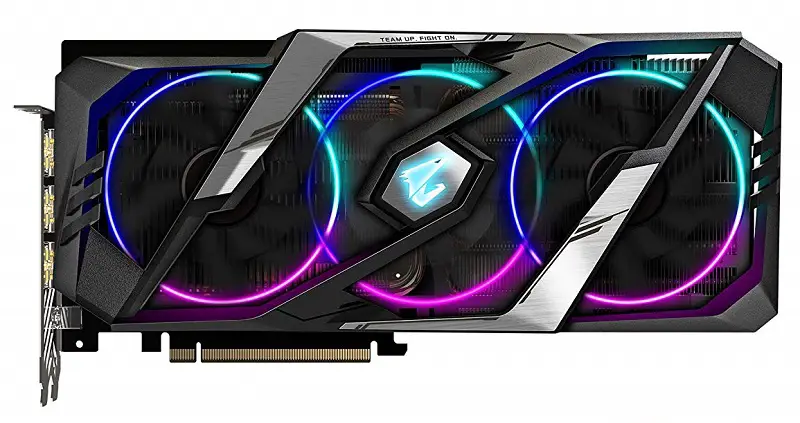 | |
| Addlink X70 512GB SSD |  | |
| Thermaltake Smart Pro RGB 650W |  | |
| Corsair Icue 465X RGB | 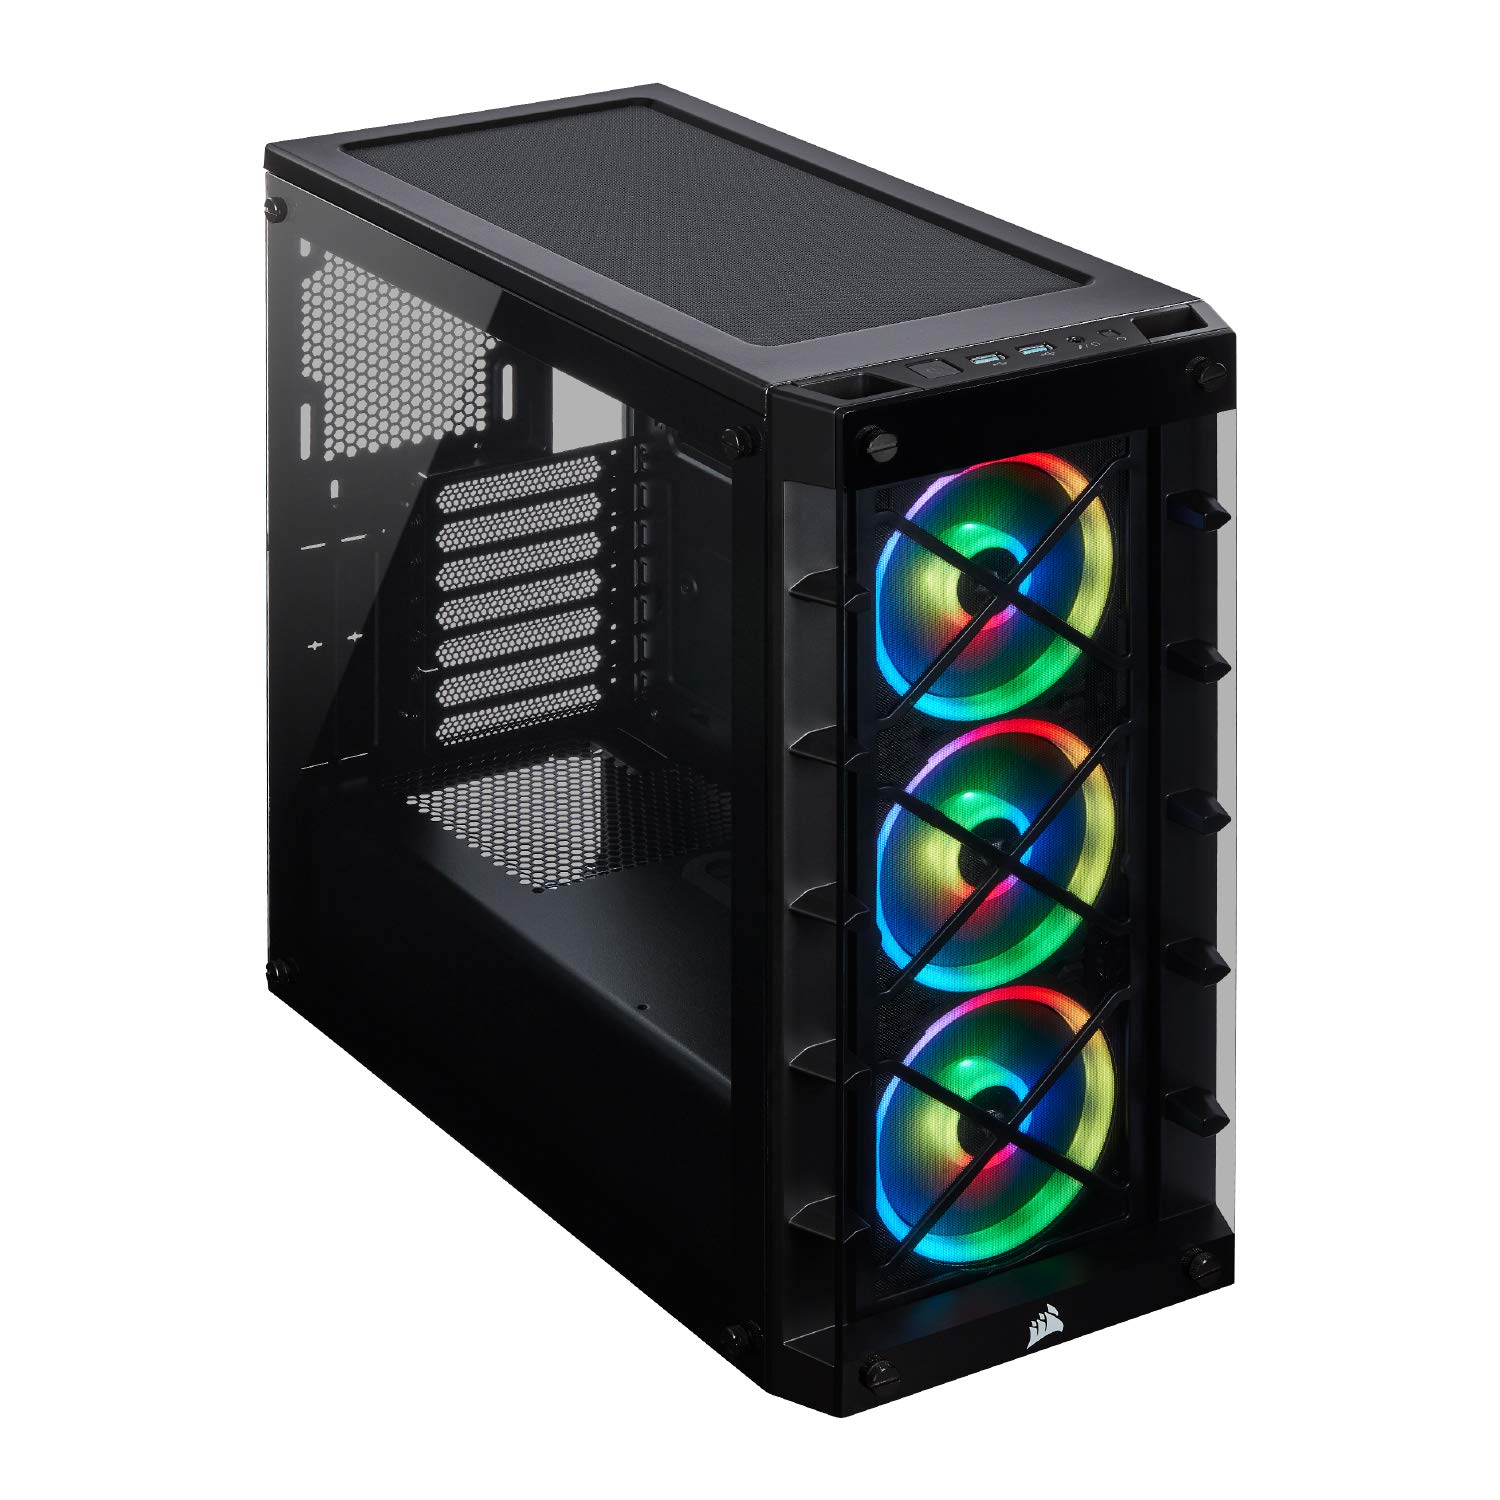 |
Details
The $1300 Gaming Build is the recommended choice for those who don’t want to spend a lot of money on too much expensive RGB over the top PC components. Surely, $1300 Gaming PC isn’t cheap but you can’t have an All RGB PC with just $500 in your pocket. This PC has almost everything as RGB. The only exception is the processor which will be anyways hidden and won’t be RGB.
The processor is Ryzen 5 3600 and for that, I recommend the Asus Prime X470-Pro motherboard which costs around $150. Right now even though the X570 motherboards are available, the RGB ones are much more expensive and usually cost more than $250. The X470 is a comparable chipset with the X570 and will be more than enough for the Ryzen 3600 for overclocking. This board has white heatsinks and RGB on the I/O cover and chipset. This will make sure that you enjoy the RGB properly. Not only that, but the board also has RGB headers on it.
On top of the Ryzen 5 3600, I chose the MasterAir MA410M which is an optional thing but because the processor doesn’t come with any RGB CPU cooler and won’t be sufficient for strong overclocking, this dual fan cooler from Cooler Master will ensure that not only you get the best aesthetics but also great cooling. For fast operation, I chose 16GB of DDR4 RAM from Gskill. Right now, the more the frequency of RAM modules you will have, the more the performance you will get with Ryzen processors. For this reason, I chose the 3600MHz RAM modules that have RGB lighting on top of them. These RAM sticks will make sure you get the most out of the games and will be future proof for a couple of years.
Next up is the graphics card which is the RTX 2060 Super from Gigabyte. There are several good RGB editions from different vendors like Asus, MSI but the Gigabyte Aorus has unmatched looks with 3x RGB fans.
RTX 2060 Super will ensure that you enjoy the best graphics and smooth gameplay at 1440p resolution on ultra settings. For these games, you will get 512GB of storage in the Addlink SSD which is NVME type and will be the fastest thing you will ever use. This is also RGB and will light up your system even more. 512GB isn’t enough for storing a lot of big games and for that you can also use a traditional hard drive or a SATA SSD.
Powering all that will be done by the Thermaltake Smart Pro 650 watts power supply which has an RGB fan, controllable by a switch at the back which will change the effects when you wish. Not only it will be enough for powering up the whole system but will also provide a great efficiency which will be around more than 85% on typical loads.
Now to host all of that which I mentioned, I used the Corsair 465X which is the next case in the Crystal series after 460X. It has 3x 120mm Corsair LL RGB fans which in my opinion are the best RGB fans available in the market. This case not only looks great but has great features that were not present in the 460X and 570X. It has a good clearance at the front panel from the sides which will allow good airflow. It also has a full-length PSU shroud which will hide the cables easily and has a vent for power supply facing upwards through which you can see your RGB fan on your PSU if you put it upwards.
This is one of the best $1300 RGB gaming PC you can build right now. Some changes can be made here and there based on your preferences but the way I put it, I think it doesn’t need any changes.
Recommended Peripherals
[one_fourth]SteelSeries Apex 7 Keyboard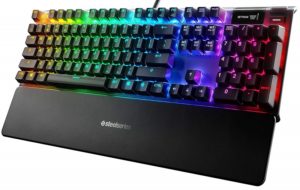


Option 2: $2000 RGB GAMING PC BUILD
| Components | Images | Latest Prices |
|---|---|---|
| Intel Core i7-9700K | 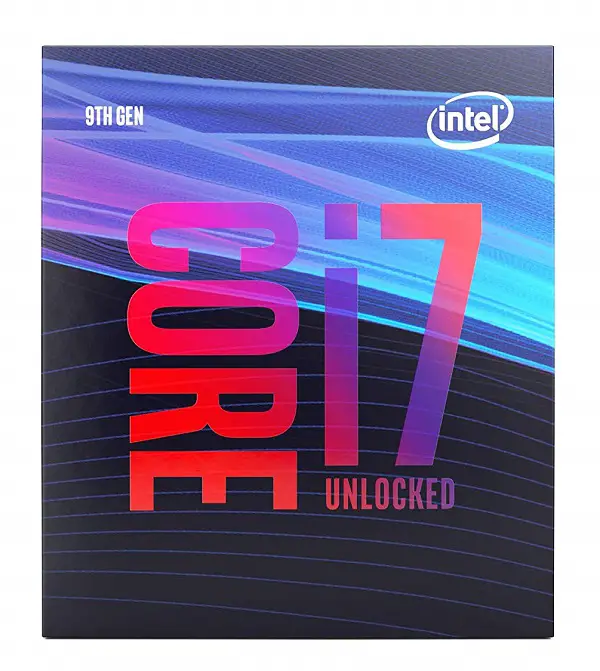 | |
| Corsair H100i RGB PLATINUM | 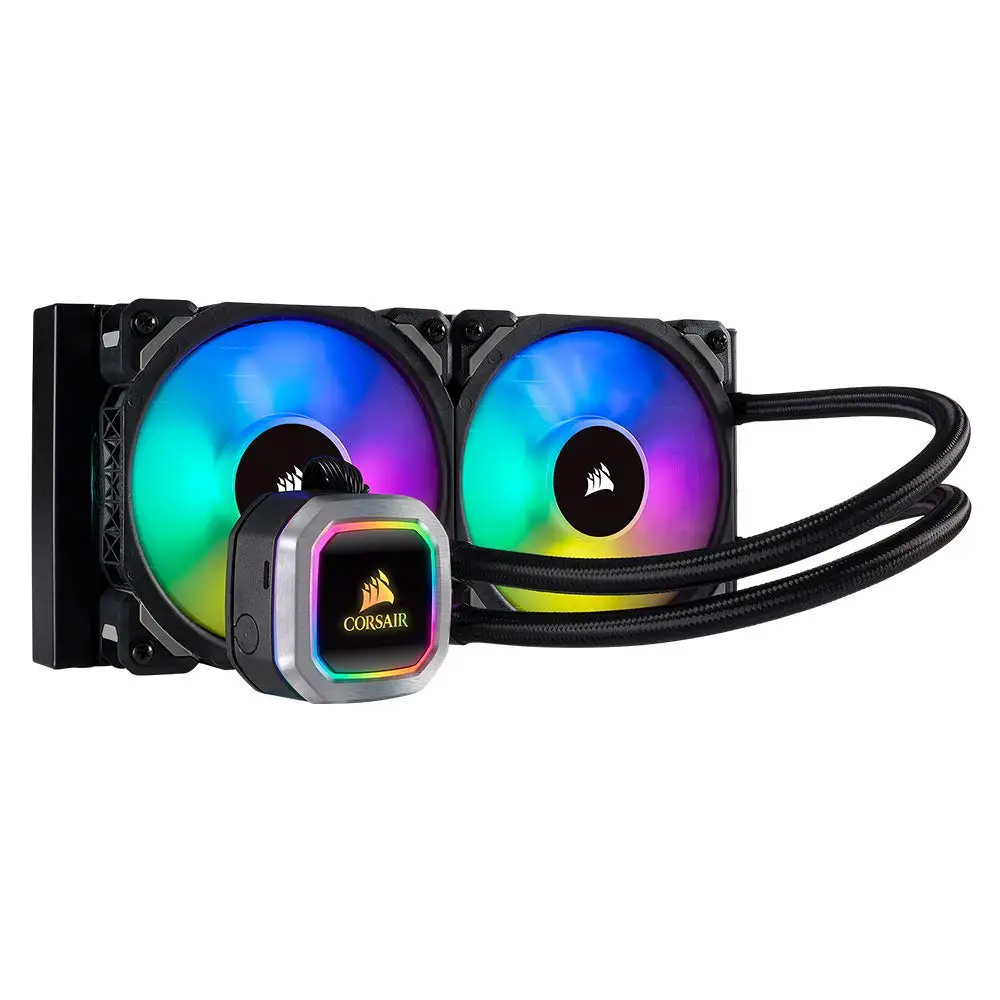 | |
| ASUS ROG Maximus XI Hero (Wi-Fi) | 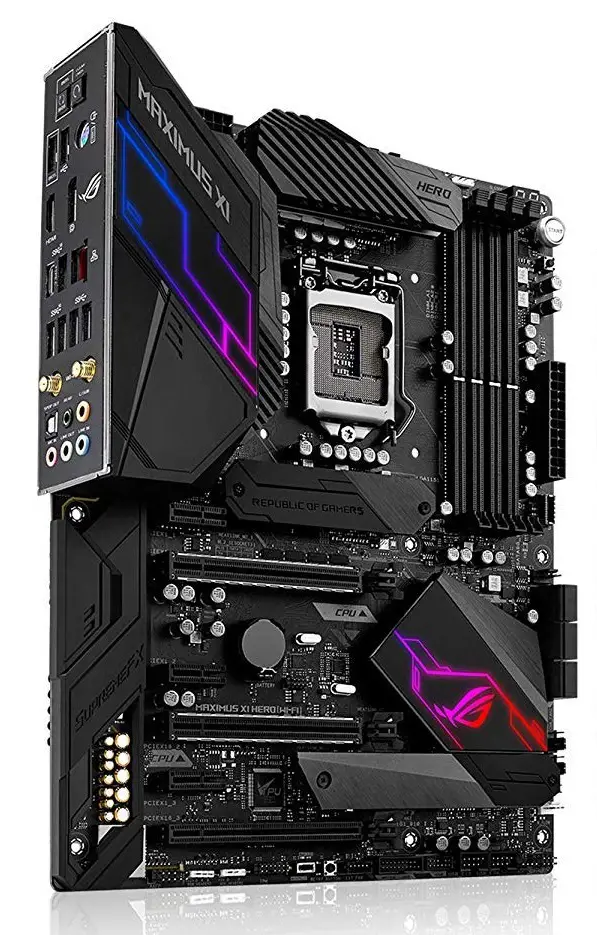 | |
| TEAMGROUP T-Force Delta RGB DDR4 16GB | 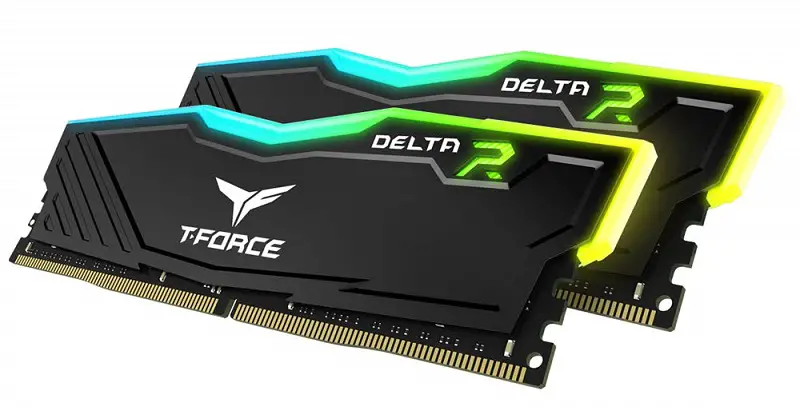 | |
| GIGABYTE AORUS RTX 2080 Super 8G | 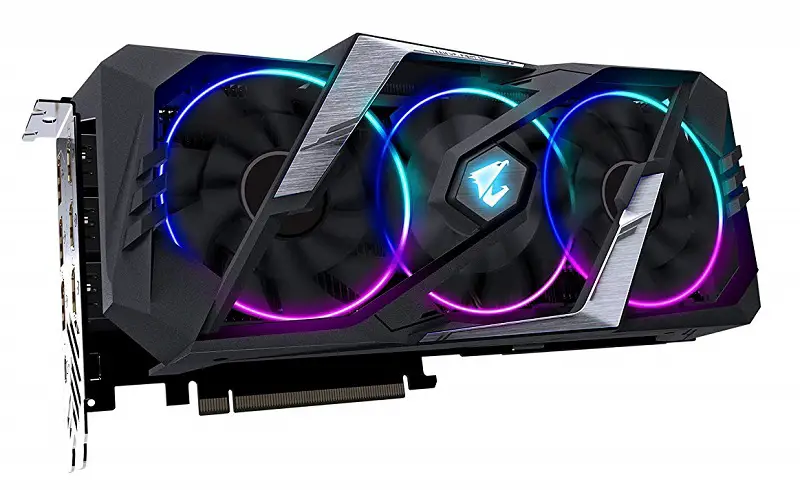 | |
| Gigabyte AORUS RGB NVMe M.2 512GB |  | |
| Thermaltake Toughpower Grand RGB 750W | 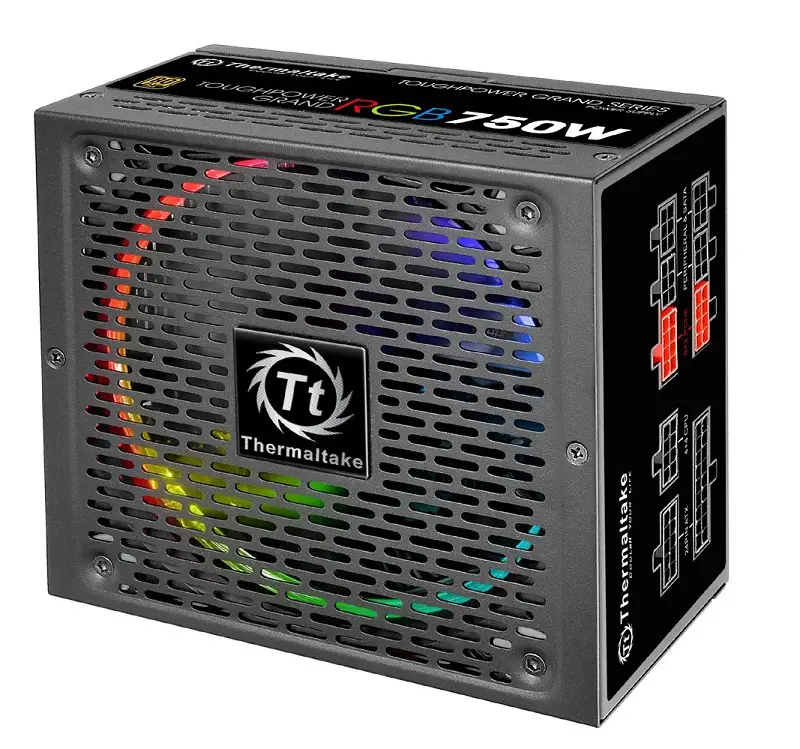 | |
| Cooler Master MasterCase H500M |  |
Details
This $2000 RGB build uses more premium components than the $1300 PC. For the processor, I chose Intel Core i7 9700K which is the fastest $350 Gaming CPU and has 8 cores and 8 threads. This one is the only 8 Core i7 CPU in the mainstream Intel processors with no hyperthreading but is more powerful than the i7 8700K which features 6 cores and 12 threads. It can support any high-end graphics card like RTX 2080 or RTX 2080 Ti without breaking a sweat and I chose the RTX 2080 Super from Gigabyte for the perfect 1440p and 4K gaming.
The RTX 2080 Super from Gigabyte is again using the Aorus design with 3x RGB fans that can be controlled using the App Center. This card is more than enough to provide 144+fps on a 1440p display. The i7 9700K and RTX 2080 Super is currently the second-fastest combo you can get after the i9 9900K with RTX 2080 Ti and for overclocking the 9700K I chose the Asus ROG Maximus XI Hero Z390 Gaming Motherboard which has 10 power phases and all the onboard features for advanced overclocking.
To make the processor work for a long time without any dips in clock speeds, I chose the Corsair H100i RGB Platinum CPU AIO cooler which has RGB in the block as well as in the fans on the radiator. It uses a 240mm radiator with 2x 120mm Corsair ML PWM fans that can be controlled using the bios as well as Corsair iCue software.
For memory, I chose the TeamGroup T-Force Delta RGB 2x 8GB RAM sticks clocked at 3200MHz which has very bright RGB lighting inbuilt on the heat spreaders and for storing the data, I recommend going with the Gigabyte Aorus RGB NVME 512GB SSD which has an aluminium heatsink along with RGB lighting. Surely, you can increase the storage capacity by investing in more storage devices but I tried to stay around $2000 for this build.
Powering all of these components will be done by the Thermaltake Toughpower Grand 750 Watts of power supply which has a 140mm RGB fan having 5 lighting modes that can be switched by the RGB button at the rear. This is a Gold Rated power supply which means you will get up to 90% of power efficiency on typical loads and will generate lower heat. Also, it’s fully modular which will ensure that you get the best and clean build.
To host all of that I chose the Cooler Master H500M mid-tower chassis which is among my top 3 favourite mid-tower cases of all time. It features 2x 200mm ARGB fans at the front with a ventilated front panel at the sides for massive airflow. It has covers for hiding the cables completely at the back and is modular enough to build according to the needs. It’s big and heavy and will be a perfect piece of art to show off the components.
Recommended Peripherals
[one_fourth]Corsair K70 RGB MK.2 Rapidfire Keyboard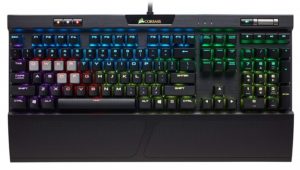

Conclusion
If you are still confused in choosing the appropriate components for your RGB build, then there is no need to worry. I know that there are a variety of choices which makes it a little difficult but at the same time it’s a good thing as now you can choose according to your budget. Feel free to discuss in the comments section below if needed!
![Build the Best RGB Gaming PC [Two Different Builds]](https://www.xtremegaminerd.com/wp-content/uploads/thumbs_dir/Best-White-PC-Cases-ofjnf99tkygpxq3wl0z9yywim26idhdbq1hr99rrcs.jpg)
![Build the Best RGB Gaming PC [Two Different Builds]](https://www.xtremegaminerd.com/wp-content/uploads/thumbs_dir/Best-CPUs-for-CPU-Intensive-Games-og6cxw11k8s4bmh1d2vicr2mw8ca7rxtq58xyuogn0.jpg)