You might have encountered issues like frequent pc shutdowns, low performance, stuttering and even damaged components. All of these problems aren’t necessarily related to faulty memory sticks, over voltage or over current but heating is also one of the major problems that decrease the lifespan of components and hinders your system’s performance.
You must not ignore rising high temperatures of your computer even if it is a single component. It’s important to maintain the temperature as low as possible so as you don’t end up buying new components. For this purpose, I have brought you the 9 effective steps that will reduce your computer’s heat in a massive way. Some of them are free, some are budget-friendly and some may require you to spend more money. But these will save your computer’s life.
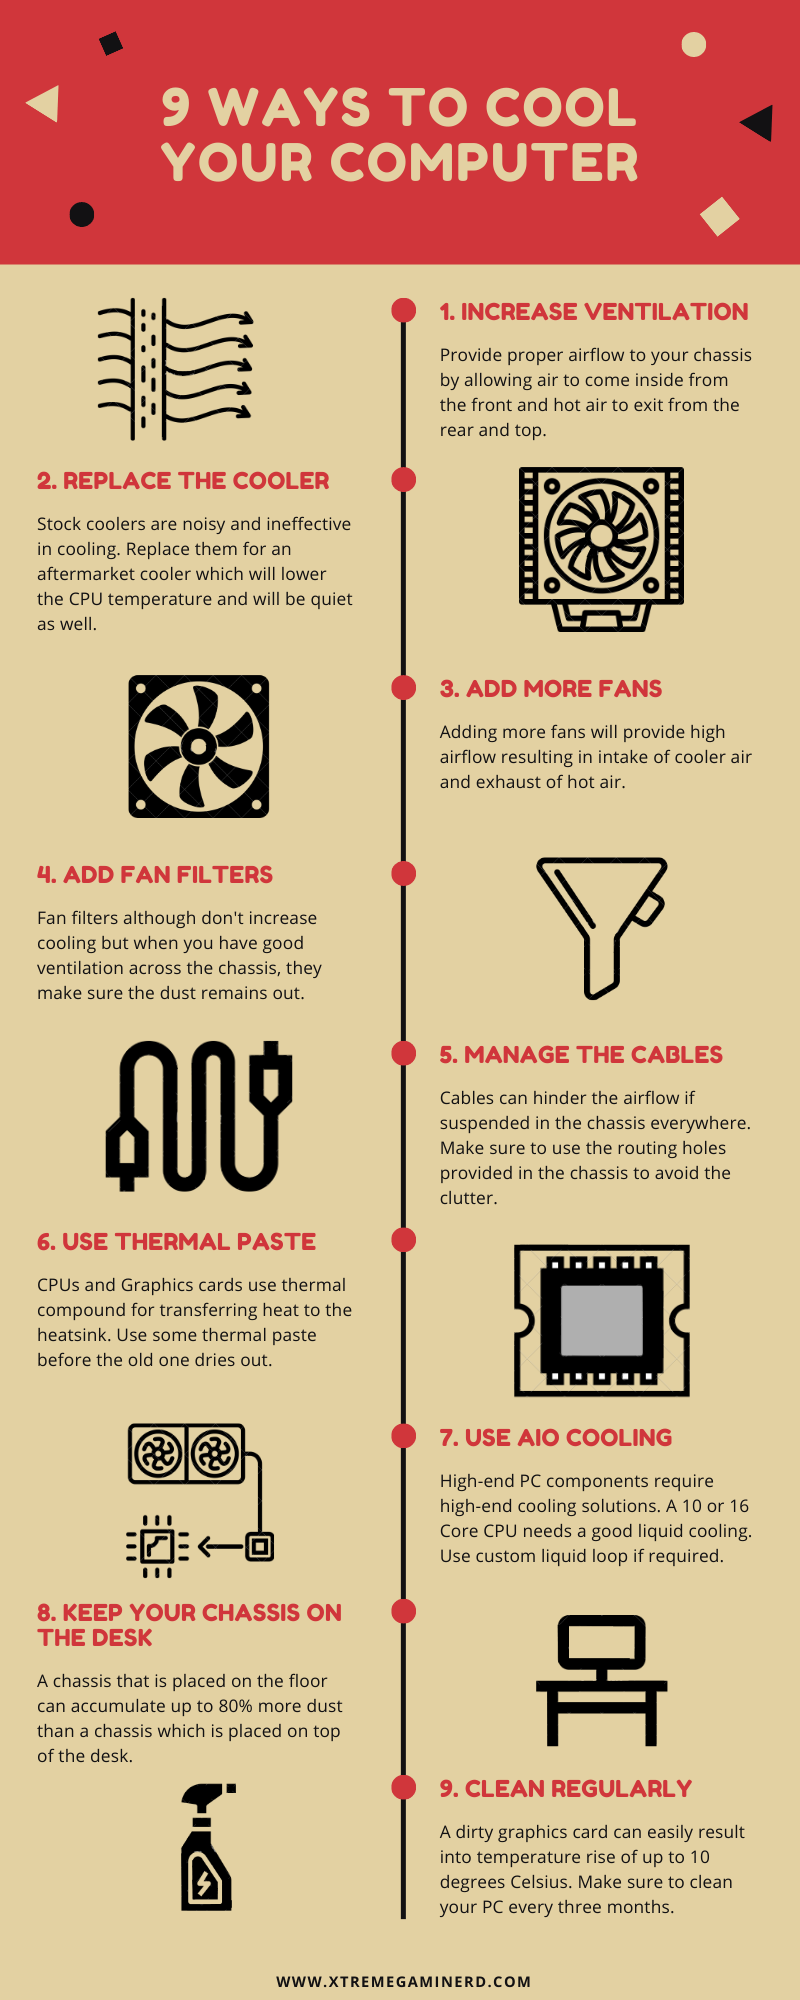
A quick look at the 9 ways
#1. Increase Ventilation in Chassis
Most of the overheating problems in a computer occur due to one reason, and that is not having a properly ventilated system that allows the air pass-through easily from every side. The easy way to fix this problem is to increase the ventilation in your chassis but you can only do this if your case doesn’t have opaque panels at the front and top.
But in case you have a chassis that doesn’t have a ventilated front and top panel, then simply remove the panels to allow airflow. This will although increase the cooling but will also increase the amount of dust accumulation easily. So, you might have to clean your PC every week using compressed air or an air blower but that is much better than having your chassis panels closed from all sides and letting it overheat.
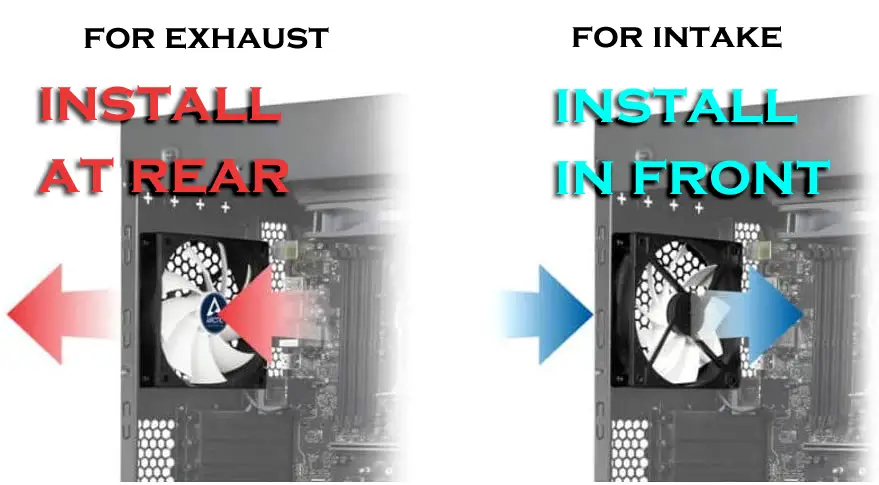
For those who have ventilated panels, it’s highly recommended that you install at least one fan at the front and one fan at the rear or top. You should try to use equal number of fans for intake as well as an exhaust to make a balanced airflow because that is the most effective way of cooling your PC components.
Check out the top-performing Airflow PC cases in 2020!
#2. Replace the stock CPU cooler
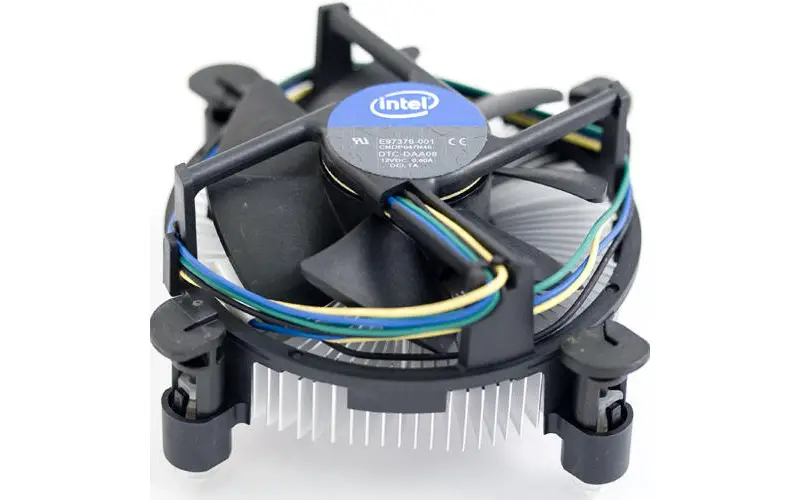
Frequent shutdowns and computer hangs can also be results of the high CPU temperature. The stock cooler that comes with the Intel or AMD processor is just fine for simple day to day work but if you are an enthusiast gamer or an overclocker, there is no way that the stock cooler will help you in achieving good results at low temperatures. To maintain the CPU temperature low, replace the stock cooler with an aftermarket CPU cooler like Cooler Master Hyper 212 EVO if you are on a budget or for unlocking the full potential of your CPU you can get a cooler like Noctua Nh-d15 which is considered as one of the best air cooler for any budget build. With an aftermarket CPU cooler, you will not only get lower temperatures but also lower noise.
Related:- When to change your CPU cooler?
#3. Add more fans
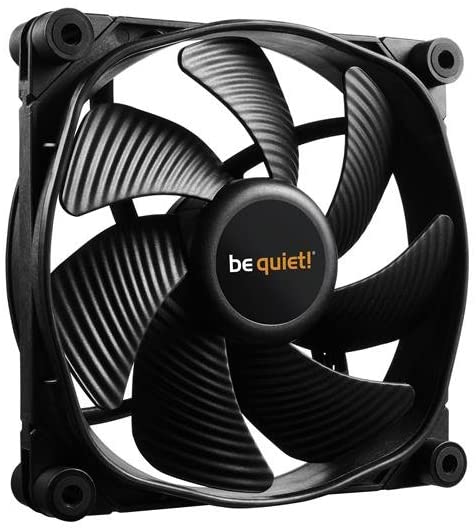
Well, the best and the cheapest method of cooling your PC is to add the maximum number of custom fans in your case. If your case supports 4-7 additional custom fans then you are in luck. Or if you only have 2-3 additional custom fan slots, then still it’s great. If you install 2-4 fans in your case in a way that the air is circulated properly then you will observe a massive difference in the system temperature.
When I used to operate my pc in summer without any custom fan, the side panel of the case where the motherboard is installed used to get very hot but after installing a single fan as exhaust at the rear, No matter what the room temperature would be, my PC always remained cooler. And now after adding one more fan at the front as intake, the system doesn’t have any heating problems at all.
HOW TO PUT YOUR FANS PROPERLY:-
Step #1: Add at least 2 custom fans in your case. One as exhaust and one as intake. (NOTE:- Exhaust fan is more important than the Intake One). Because if you install only one intake fan and no exhaust fans then your system’s heat will remain in the case only and it will create temperature disbalance. Always try to install an equal number of exhaust fans and intake fans.
Step #2: The best place to install the exhaust fan is either at the rear top or at the top of the case because heat travels from low to high. But don’t put the exhaust fan at the front top because it will throw the hot air right on to you.
Similarly, the best place for the intake fans is either at the front bottom or at the bottom of the case. Setting up the fans as I have stated will create balanced airflow inside and outside the case.
Here is our article: The Best Cooling PC Fans from where you can select the best fans which suits your budget and need.
#4. Add fan filters
Fan filters do not decrease your system’s temperature but actually they are for keeping the dust out of your case. If you work in a country where dust is very common to enter the house, your system will take the dust in a month in so much quantity that the components will look 2 years old. Dust, of course, makes your components run hotter and makes it difficult for the fans or heatsinks to be in direct contact with the components.
You may need to clean the dust filters in a month or so but it’s a proper way of closing every area from where the dust might enter.
#5. Cable management

What do you think about the above system? Will the components get the required amount of cooling?
Of course NOT. If you just place the cables like this and mess up the whole pc then these cables will stop the way of the air to get regulated properly. If you have installed the fans in the front, rear, bottom or top and no matter where these wires will not let the easy air circulation and may get into the CPU cooler fan or GPU fans.
Make the way of these cables through the routing holes from back to front. Nowadays most of the cases come with a good management system and your case will even look like that it doesn’t have any cable at all.
#6. Use thermal compound

Be sure to use thermal compound/paste on your processors. Be it the processor that fits directly onto the motherboard socket or the processor present on the Graphics card. Time to time the paste gets dried up which makes improper contact with the heat sink resulting in overheating. A thermal compound will hardly cost you $7 or $8 and I recommend Arctic Silver thermal compound that has very high-density polysynthetic silver.
You can easily remove the stock heat sink from the processor and apply it gently in a very little quantity equal to the size of a pea. Then spread it all over the surface but be sure to remove the older dried up paste before you apply the newer layer using Isopropyl Alcohol. This thing is great in saving the processor’s life.
#7. Liquid cooling solution
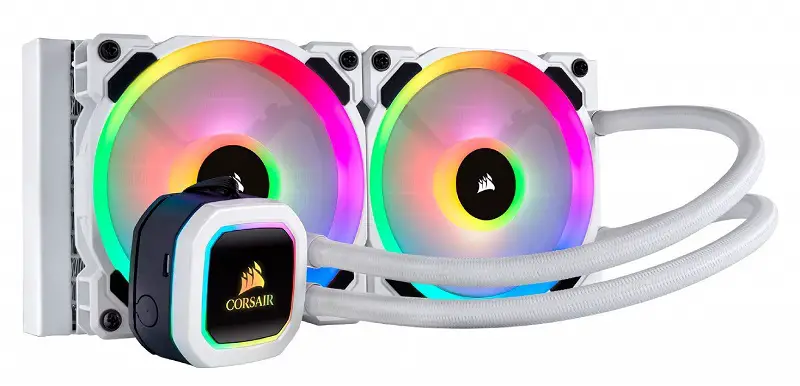
When you overclock a processor like i7 9600K or Ryzen 7 3700X to more than their boost clock, then you can’t expect great results with an air cooler. Your CPU temperature might go into 90’s and that’s not a healthy overclocking practice. Save some money to get a better cooling device like Corsair H100i RGB Platinum SE or Cooler Master ML360R to make your CPU remain under 60’s.
As liquid absorbs heat much faster, cooling becomes much faster. The liquid cooler consists of a cold plate unit which is in direct contact with the CPU, a heat pump, two tubes for carrying the liquid and a radiator. When the CPU gets hot, it transfers the heat to the cold plate unit of the cooler and gets heated up which in turns heat up the liquid. Then the pump pushes the warm liquid to the radiator through one tube where it dissipates the heat to the outside. The same cooled liquid is transferred to the plate unit again through another tube.
But before you go to buy a liquid cooler, check that if your case supports it or not. Similarly, you can also go for a GPU-liquid cooling solution if your graphics card is overheating.
#8. Get your Computer up on the desk

Dust settles down on the floor and if you keep your Chassis on the floor it will absorb the dust much faster. A study has shown that if you keep your case on the floor just 6 inches above the ground level on a stand or something, the dust entrance decreases down up to 80%. This is very true as I have experienced it myself.
#9. Clean regularly

The best step is to clean your system regularly. No matter what you try, still, some dust will sneak into your case and will settle down like king on your motherboard, graphics cards and fans. In every month take your time to clean each and every part with care with a good cleaning kit.
Sensitive areas like PCB of motherboard should be cleaned with a soft brush and never ever try to clean with a cloth. Instead, the cloth should be used for cleaning components like power supplies, hard drives etc. But do also remember to clean your case fans too. They collect a lot of dust on the blades.
If you think this guide is complete, then share it with your friends and if not, then comment down below to let me know what else do you think is great for cooling your pc. I would like to apply those techniques to my system!




number of exhaust vs intake fans does a marginal difference in temperature and if you have more exhaust than intake fans, it creates negative pressure in your case which will actually cause more dust in your case. Also cable management does nothing to your pc cooling.
Like to find out where I could purchase that desk, very nice. Nothing much on water-cooling though. Care to expand?
Yeah that desk looks decent. Found it on robohomedesign.com but there is a similar one on amazon.com : http://amzn.to/1UUQ87F .
And For Liquid cooling, I added a simple explanation now.